How to Change Clothes in a Photo: Colour, Fabric and Outfit Edits
Choose between a colour adjustment, fabric replacement and an outfit swap, then check garment details before publishing.
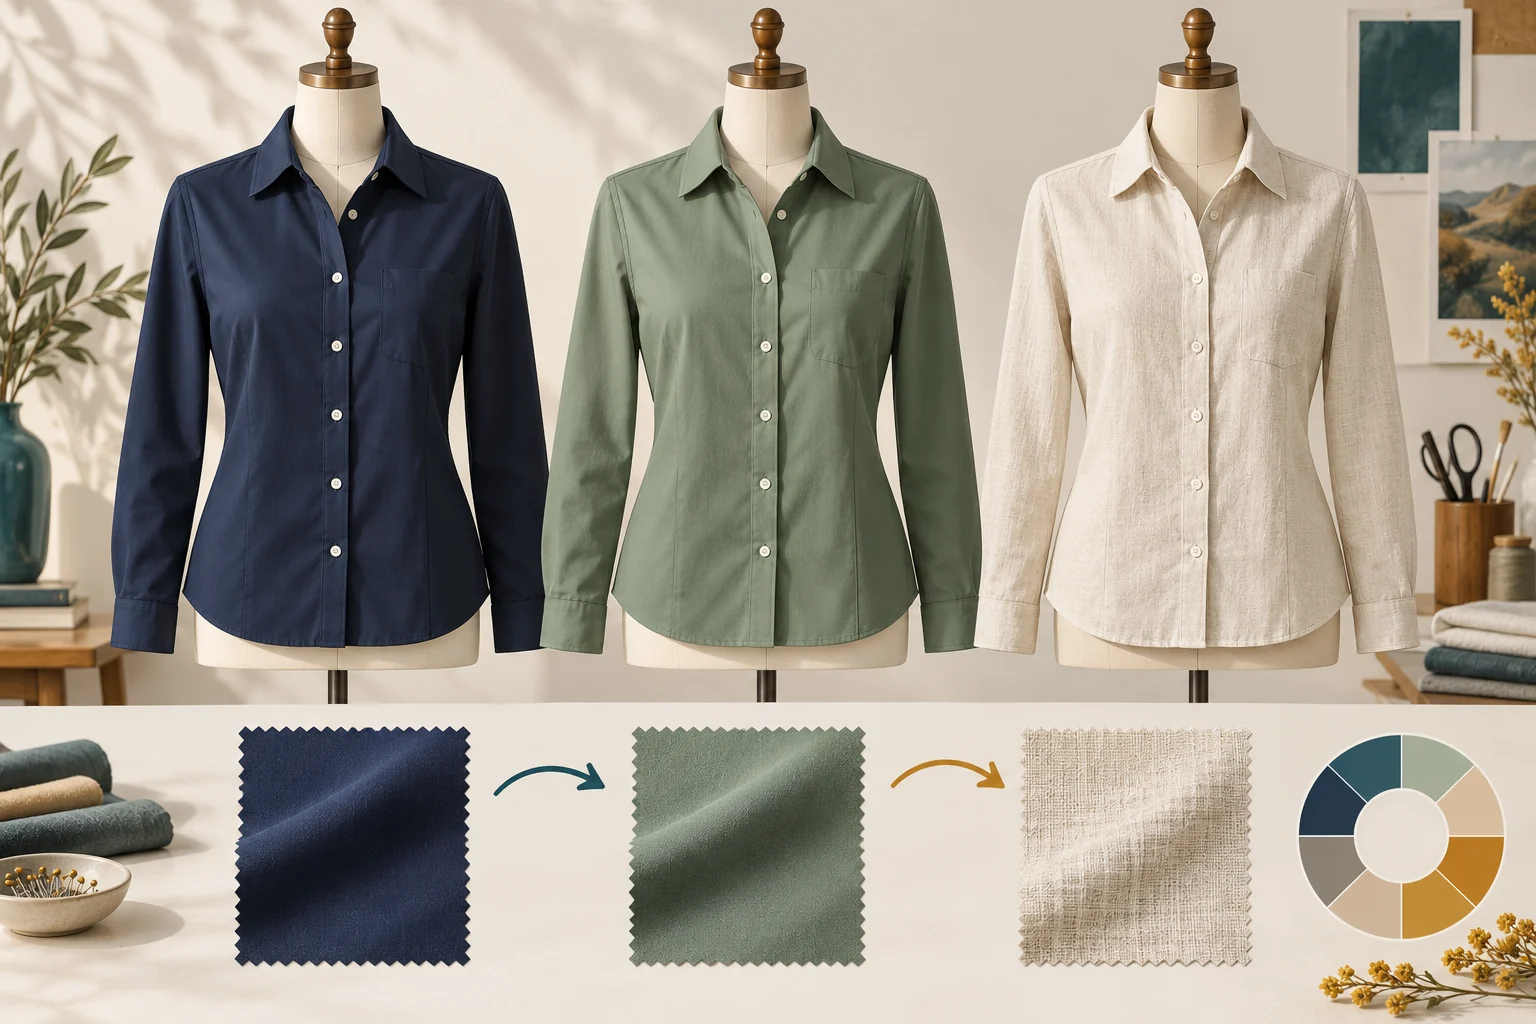
Quick answer: use a masked colour adjustment when only the colour changes, selected-area generation when fabric or construction changes, and real garment references when the result must represent a specific product. Keep the original portrait available throughout the edit and check the exported image before publishing.
Changing clothes in a photo can mean a minor colour correction or an entirely new outfit. Those jobs need different tools and different standards. A shirt recolour should preserve its buttons, weave and fit. A generated jacket may introduce a new silhouette. A virtual try-on preview must be judged against a real garment reference.
This tutorial explains a controlled workflow for fully clothed fashion edits. It includes practical prompt examples, a method for handling patterns and lighting, and a review process for images used in styling, ecommerce and client work. No editor can guarantee that one sentence will preserve every detail in a complex portrait.
1. Define exactly what should change
Begin with a short editing brief. Name the garment, the property to change and the details that should stay. “Make the shirt green” is less useful than “Change the navy shirt to muted sage while retaining the existing collar, white buttons, stitched pockets and shadows.” The second brief makes errors easier to identify.
| Edit | What stays | What changes | Starting approach |
|---|---|---|---|
| Colour change | Construction, texture, pose | Hue and sometimes brightness | Selection plus adjustment layer |
| Fabric change | Chosen silhouette and coverage | Surface texture and material behaviour | Local generation or reference composite |
| Outfit replacement | Approved portrait and scene | Garment type, construction and outline | Garment reference plus controlled replacement |
Also state the purpose. An internal design exploration can show a hypothetical colourway. A product listing should show a colour and construction you actually sell. Label project files accordingly so that an unapproved concept does not accidentally become a published product image.
2. Prepare the original and garment reference
Start from a high-quality source rather than a social-media download. Keep the original untouched and create a working document. If several colourways will be produced, use a single approved crop and keep it consistent across the set. This makes differences between outputs easier to compare.
Photograph the real garment when product accuracy matters. Useful references include a front view, a close view of the fabric, and details of buttons, logos and cuffs. Use even light and avoid heavy filters. A reference shot with a dramatic colour cast can teach the editor the wrong shade.
Check the pose before committing to a full replacement. Arms folded across the chest, hands inside pockets and hair over shoulders complicate boundaries. A simpler pose may be a better source for a product presentation, while the more complex portrait can remain the lifestyle image.
Get permission for the portrait and agree on the intended transformation. A subject approving a navy shirt recolour has not necessarily approved a change of style, setting or advertising use. Record the brief and any restrictions in the project folder before processing files in an outside service.
3. Recolour an existing garment without rebuilding it
For a colour-only job, select the garment and apply a reversible adjustment rather than replacing all its pixels. Adobe documents object recolouring with Hue/Saturation adjustment layers. A mask confines the adjustment to the garment while keeping the original available underneath.
Inspect the selection around collars, sleeves and holes between an arm and torso. If skin, hair or background shifts colour, repair the mask before adjusting the shade again. A clean boundary usually produces a more credible result than a more elaborate colour recipe.
Changing dark navy to pale cream is not just rotating a hue slider. The original dark garment may contain little visible detail in its shadows. Raising brightness aggressively can expose compression or flatten texture. Use a reference and local tonal work, or photograph the real pale garment if exact appearance is needed.
Keep highlight and shadow variation. Fabric should not become a single flat colour, because folds and direction of light contribute to its appearance. Compare the new shirt at normal viewing size, then inspect the weave closely. A colour correction that looks attractive as a thumbnail may fail in a detailed product crop.
4. Change fabric while controlling the silhouette
A fabric replacement changes more than surface decoration. Linen, satin, denim and knitted wool respond differently to folds, thickness and light. Asking for satin on a bulky knitted silhouette can create a confusing garment unless the brief also explains which structure should stay and which may change.
Replace only the selected shirt fabric with matte cream linen. Retain the button-up collar, long sleeves, pocket position and fully covering fit. Match the original side lighting and pose. Keep the face, hands, trousers and room unchanged. No new logos or jewellery.
Begin with the largest garment region, then review construction details separately. If a collar changes shape unexpectedly, repair that region with a tighter selection. If the fabric grain becomes too large, use an actual close-up reference rather than adding repeated adjectives about realism.
Do not present a generated fabric as evidence of its real composition or performance. An image cannot establish that a material is breathable, waterproof or pure linen. Those product claims need information from the manufacturer or supplier, independent of how the rendering looks.
5. Replace an outfit with an explicit garment brief
For a full outfit change, specify the new garment's type, coverage, silhouette and a few defining features. Decide whether the replacement is a hypothetical styling idea or an exact item. The latter requires reference files and a stricter approval process.
Replace the selected top with a fully covering forest-green long-sleeve cotton shirt, a relaxed straight fit, a standard pointed collar and plain white buttons. Preserve the adult's original face, hair, hand positions, trousers and background. Use the existing soft daylight and natural folds at the elbows.
Edit one garment at a time if the tool cannot reliably keep the rest of the scene stable. Replacing a shirt, trousers, shoes and background in a single pass makes it difficult to isolate failures. A staged workflow lets you approve each part and restore an unchanged region from the original.
A text prompt cannot reliably specify exact brand artwork, pocket measurements or a repeating textile pattern. Keep those details in separate layers or use a matching product reference. For high-value product imagery, a manual composite or new photograph may be the more predictable route.
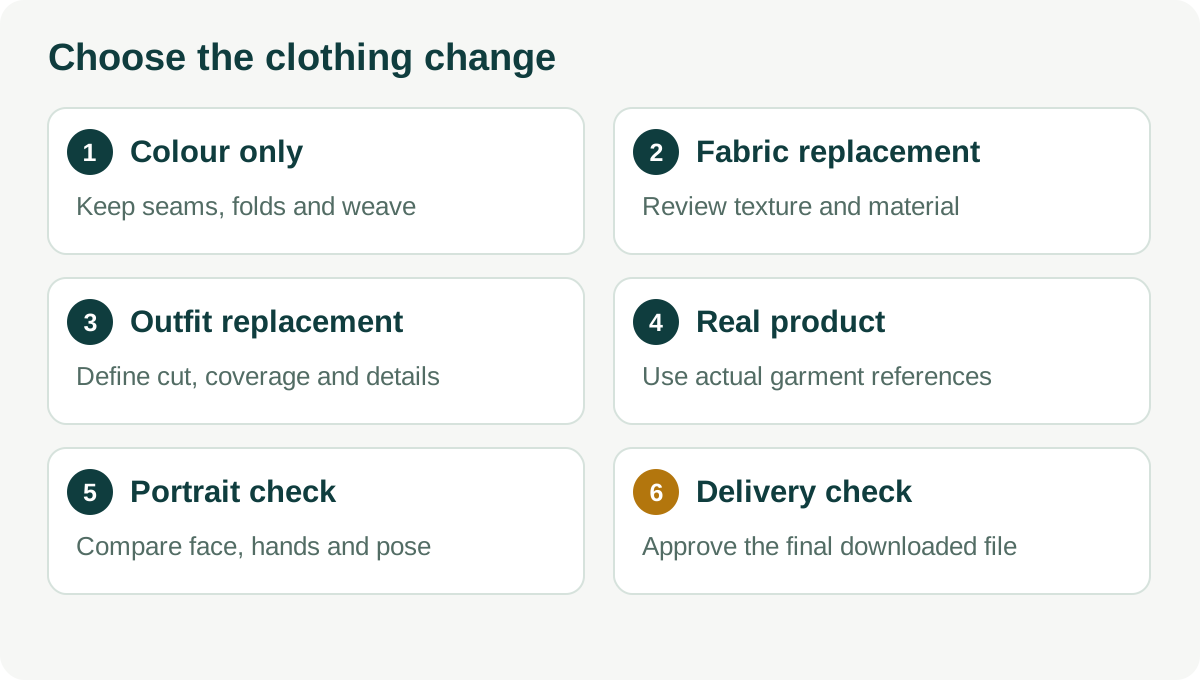
6. Match lighting and fit to the original photograph
Study the source light before writing the prompt. Is the bright side on the left or right? Are shadows soft or sharply defined? Does the garment pick up warm light from a lamp or cool light from a window? The replacement should belong to that scene.
Compare shadows around the collar, under the arms and beneath the hem. A new garment with polished studio highlights will look pasted into an ordinary room if the source has diffuse window light. Local tonal adjustments can correct a modest mismatch without regenerating the whole outfit.
Fit is a separate issue from lighting. Check shoulder seams, elbow folds, the waist and garment length. A generated shirt can look plausible yet describe a different cut from the item in the reference. Do not treat apparent fit in an edited picture as a measurement or a guarantee of real fit.
When showing a styling preview to a client, send the original beside the edited version and identify the changed garment in the accompanying message. This gives the client a concrete basis for approval without implying that a physical sample already exists.
7. Handle patterns, logos and colour references carefully
Repeating prints should follow the garment's folds and construction. Look for stripes that jump at seams, checks that stretch unevenly and motifs that change shape between sleeves. A model may create convincing decorative texture without preserving the original repeat.
When a print is important, use authorised pattern artwork on a separate layer and transform it to the garment, or work from a photograph of the real product. Keep seam alignment visible in the review crop. Avoid judging a patterned result only by its overall colour impression.
For logos, preserve the original where possible. If a logo must be reapplied, use approved artwork and check its position and proportions against the brand's requirements. Generated lettering should be treated as a potential error, not as a faithful reproduction.
A colour swatch displayed on a screen is useful guidance, but it does not prove that the photograph matches a physical textile. Lighting, white balance, display settings and the material itself affect appearance. Compare with a photographed sample under controlled light when an exact commercial colour is required.
8. Review the result with a short acceptance checklist
- Identity and pose: compare the face, hair and hands to the original. Restore original pixels where the edit should not have changed them.
- Construction: inspect collar shape, button count, cuffs, pockets and hem. Match the product reference when one exists.
- Texture: check for melted seams, repeated patches and oversmoothed fabric at a close viewing size.
- Scene integration: compare light direction, shadow depth and garment sharpness with the rest of the image.
- Purpose: confirm whether the image is approved for an internal concept, a lifestyle illustration or an exact product listing.
If one point fails, repair that issue on a new version rather than adding an increasingly long prompt. Save the selected mask and the previous candidate so you can compare changes. A reproducible workflow is more useful than a lucky output you cannot recreate or explain.
9. Export, name and deliver the approved version
Keep an editable master and a separate final export. Check the required aspect ratio and dimensions for the actual destination. Do not assume that a social crop, a product gallery and a printed lookbook use the same specifications. Export a small test first when the publishing system applies its own compression.
Use clear revision names such as product-view-colour-approved rather than final-final-two. Record which physical garment or hypothetical colourway the image depicts. This prevents a concept file from being mistaken for a product that is already available to purchase.
Check the final file after downloading it. Verify colour, transparency if required, cropping and fine detail. Preserve required provenance metadata where the destination or tool terms require it. Google's Shopping guidance for AI-generated images is a useful destination-specific reference rather than a universal rule for all websites.
If you need to choose an editor or budget the work, continue with the tools comparison and the free versus paid checklist. Those decisions should follow the required deliverable, not the appeal of a demonstration image.
Build a useful colourway approval sheet
For a three-colour shirt project, place the original and each proposed colourway in the same crop on a review sheet. Add the product identifier, target sample colour, revision number and intended placement beside each image. Include close crops of the collar and a cuff so reviewers can see whether the colour operation changed construction. Ask the reviewer to approve each version individually rather than accepting the set because one looks correct.
Keep the real sample reference available alongside the sheet. If one colour needs a substantial brightness change, review it separately for lost folds and texture. Once approved, export each delivery file from its own master and verify the filename matches the correct colourway. This small handoff process reduces mix-ups between a hypothetical design option and a product variant that customers can actually order.
Frequently asked questions
Can I change clothing colour without generative AI?
Yes. A garment selection and a masked colour adjustment often preserve the existing construction more directly. Large changes in brightness can still require additional work, especially when the original fabric has little detail in shadows.
Will an outfit swap preserve the face automatically?
There is no universal guarantee. Keep the edit local, compare against the original and restore untouched portrait regions from the source where the editor allows it. A prompt expressing preservation is a request, not a pixel-level lock.
Can an edited outfit prove how a product will fit?
No. A generated image does not measure the body or the garment. Use it as a styling preview unless the workflow supplies independently validated fit information. Size charts, actual measurements and real product photography remain separate evidence.
Should all colourways come from one edited image?
A consistent base can help with presentation, but every colourway still needs comparison with the real item. Review each version separately for texture, construction and colour errors before approving it for publication.